article

markus avatar image
markus posted

HowTo: Use a HDMI Screen with USB Touch Panel and USB HID Buttons on a Raspberry Pi running Venus

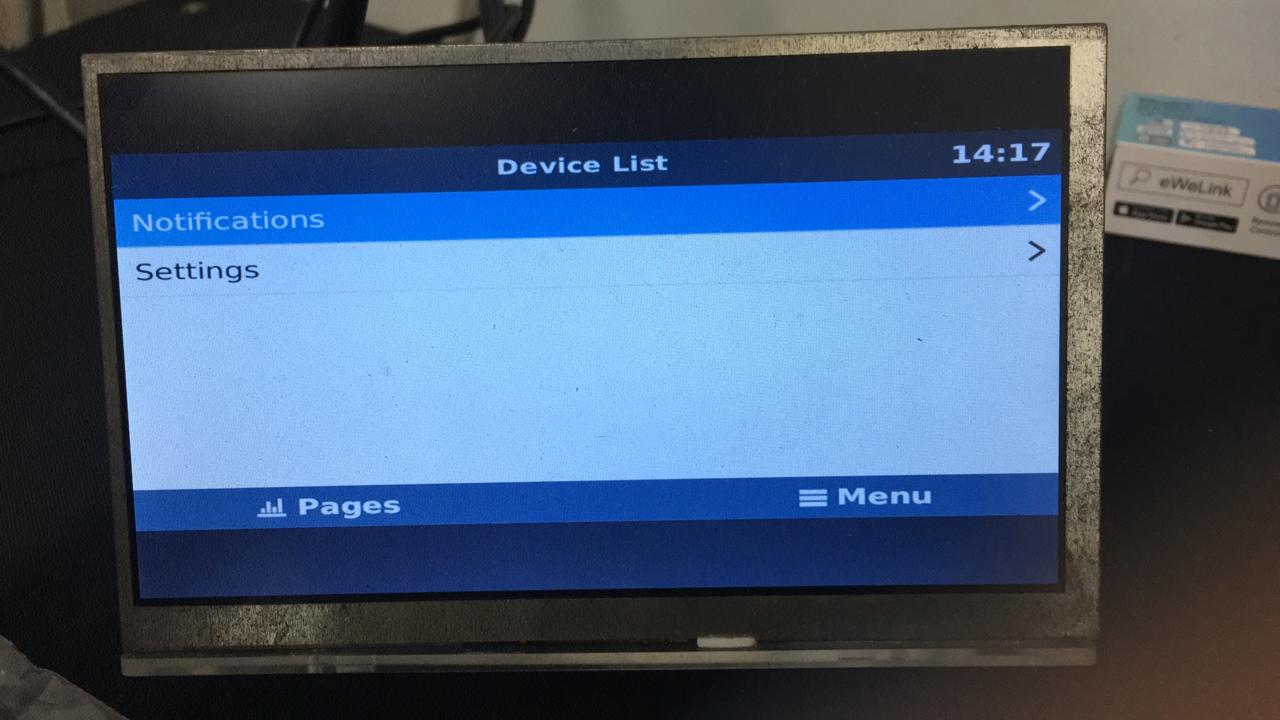
If you are using a RaspberryPi running VenusOS and want to have a working local screen with USB touchpanel and USB HID buttons (like in the video), or standard USB keyboard, follow these steps to get this done:

1.) Install venus image on your Raspberry Pi

2.) set HDMI output resolution of the Pi to 480x272 by adding

framebuffer_width=480

framebuffer_height=272

to config.txt (located on the FAT Partition on Venus SD card)

3.) Enable Root Access and make sure you can access the VenusOS files

4.) install QT4 mouse driver package by entering:

opkg update

opkg install qt4-embedded-plugin-mousedriver-tslib

opkg install tslib-calibrate

opkg install tslib-tests

5.) check on which event file the USB touchscreen and the USB Keyboard is linked to:

Type: "ls /dev/input" on the console and see the event files present.

check all event files present by typing cat /dev/input/event1 (then event2 and 3 etc...) and do some presses on the touch panel and USB HID keyboard. When you have hit the right event file you see hex numbers on the console output. Notice on which event file the touchscreen and on which event file the USB HID keyboard is linked to. In the following description the touchscreen is on event1 and keyboard is on event2. Change this, to the event files matching your environment.

6.) Calibrate touch screen with: (enter into console)

TSLIB_FBDEVICE=/dev/fb0

TSLIB_TSDEVICE=/dev/input/event1

TSLIB_CALIBFILE=/etc/pointercal

TSLIB_CONFFILE=/etc/ts.conf

TSLIB_PLUGINDIR=/usr/lib/ts ts_calibrate

7.) Test touch screen with:

TSLIB_FBDEVICE=/dev/fb0 TSLIB_TSDEVICE=/dev/input/event1 ts_test

8.) modify /opt/victronenergy/gui/start-gui.sh

if [ -n "$QWS_MOUSE_PROTO" ]; then

mouse=-mouse

else

mouse=-mouse

fi

after scriptdir=$(dirname "$BASH_SOURCE") add following lines:

export TSLIB_TSEVENTTYPE=INPUT

export TSLIB_CONSOLEDEVICE=none

export TSLIB_FBDEVICE=/dev/fb0

export TSLIB_TSDEVICE=/dev/input/event1

export TSLIB_CALIBFILE=/etc/pointercal

export TSLIB_CONFFILE=/etc/ts.conf

export TSLIB_PLUGINDIR=/usr/lib/ts

export QWS_MOUSE_PROTO=usb:/dev/input/event1

export QWS_KEYBOARD=USB:/dev/input/event2

(if you don't want to use a keyboard skip that last line)

9.) delete or rename /etc/venus/headless file and have a full functioning USB touch panel and working USB keyboard


If you have exactly the Samsung screen like in the video above, with the 5 button USB HID you have to create a new File /etc/udev/rules.d/99-usppt-usb-touch.rules with following contents:

KERNEL=="hidraw*", ATTRS{idVendor}=="13ec", ATTRS{idProduct}=="f2f8", RUN+="/bin/sh -c 'echo 1 > /dev/%k'"

A standard USB keyboard works without this.


If you have further questions, I will be glad to help.

I have to say, I am not a professional programmer or coder, not even a Linux expert, so this can surely be optimized, improved or simplified somehow. Please contribute if you can.


Regards,

Markus

Venus OSRaspberry Pimodifications
7 comments
2 |3000

Up to 8 attachments (including images) can be used with a maximum of 190.8 MiB each and 286.6 MiB total.

Warwick Bruce Chapman avatar image Warwick Bruce Chapman commented ·

This is awesome Markus.


I am using a display with a native / physical resolution of 1024x600.


With the entries in config.txt, I have a large bar at the top and bottom. Any pointers?

0 Likes 0 ·
markus avatar image markus ♦♦ Warwick Bruce Chapman commented ·

@warwick

Ah yes, the resolution you choose in config.txt has to match aspect ratio of the Venus GUI.

look in the data sheet of your display which resolutions are supported, or just try.

I would try 800x480.

Regards,

Markus

0 Likes 0 ·
graf-tabsuhl-von-zabeltau avatar image graf-tabsuhl-von-zabeltau commented ·

Hi Markus,

This is great work. Especially because I have no clue about the details ;)

Can you tell me what kind of Samsung display this is exactly? Looks like a head unit for cars. Or can you tell me an alternative display with buttons and the matching settings?


Many thanks in advance!

GTvZ

0 Likes 0 ·
markus avatar image markus ♦♦ graf-tabsuhl-von-zabeltau commented ·

Hi @Graf Tabsuhl von Zabeltau,

1.) thumbs up for your nickname.

2.) Yes, exactly. This is a Samsung display made to fit in 2DIN car headunit slots. But it is not longer available. I bought it from Aliexpress 4Years ago.

3.) The only real good advise I can give you, especially when you don't have a clue about details, is to buy a CerboGX. The (optional) GX Touch 50 display is just plug and play.

https://www.victronenergy.de/panel-systems-remote-monitoring/cerbo-gx

Best Regards,

Markus


0 Likes 0 ·
graf-tabsuhl-von-zabeltau avatar image graf-tabsuhl-von-zabeltau markus ♦♦ commented ·

Hi Markus,

You know Olaf Schubert from germany? xD

This is a really quick replay. Thumps up for that :)

Maybe a little too much understatement from my side. I am using a raspberry for home automation for years and know some things about communication and electronics, building an OpenWRT 4g router. "No clue" means no clue how to set up those extra buttons (or other buttons from a different display) to do what I want ;)

Seems like I have to use a standard hdmi display and add buttons via GPIO. Can you tell me how to get this done? Or even better: can you show me a discription or some keywords I could search for.

I would say I am a noob when it comes to Venus OS even if I have been reading some things about it. With some keywords I will be able to figure out what I need. Like always :)

What I want to do in the end is a visualisation of the smartsolar mppt75/15 and bmv712 in my camper van. Maybe I add some components later.

Regards,

GTvZ

0 Likes 0 ·
markus avatar image markus ♦♦ graf-tabsuhl-von-zabeltau commented ·

Yes, but I am from Austria, we speak the same language though, but the humor is rather different. :o)

I have never used GPIO buttons, but I managed to use a USB Keyboard by adding this line to the bottom of /opt/victronenergy/gui/start-gui.sh:

export QWS_KEYBOARD=USB:/dev/input/event1

See above, how to check if the Keyboard is linked to event1 (or 2,3 etc.) depending on the input hardware connected to your Pi. If a keyboard is connected only, it should be on event1

Beste Grüße nach Deutschland.

Markus


0 Likes 0 ·
brett1276 avatar image brett1276 commented ·

How do I make this work with just using THE HDMI output going the the input of my TV? I just want a display to monitor that I can use a wireless mouse and keyboard with.

0 Likes 0 ·

Article

Contributors

Markus contributed to this article