I don't seem to be able to set a screen off time running Venus on Raspberry PI. Is this completely disabled for some reason or is there something I need to set somewhere to enable it?
asked
Screen off time on Raspberry Pi
Hi Kevin,
Last summer i was fighting your problem as well but i can't remember which file you had to edit to enable screen off timer. Finally i found a script somewhere (can't find the source anymore) that can set a lot of options for you. When you put this script in a location that won't be wiped during an update you can quickly restore all settings. Just SSH into your rpi and manually run the script.setup-menu.zip
Thanks powerace. Unfortunately, the script you provided seems to only work for the RPI display, not HDMI displays which is what I'm using.
Also, other aspects of the script reference a "replacement start GUI file" among other things that were not included in your .zip file.
Still looking for an answer. No blanking the display would be a show stopper.
I've added the line in config.txt that is supposed to allow powering down the display but that doesn't help.
hdmi_blanking 1
I did determine there is a relationship between
/etc/venus/blank_display_device and the screen off time appearing in the Display & Language menu. Same for /etc/venus/backlight_device. However, there is still no control over the HDMI display.
It seems there should be a way to blank the screen from within the GUI code even if the display has no way to do it. Anyone have ideas along these lines?
Sorry, i didn't understand you wanted to use a HDMI. I noticed by the way there is a difference in terminology used (maybe caused by the fact that English is not my native language). Blanking switched of video signal on the RPI screen but left the backlight on which was annoying in my case. But this behaviour might be totally different using HDMI. Maybe you have to look for an screen that automatically goes into standby mode when no signal is delivered. Like modern monitors and TV's do.
Success!
After digging all day yesterday, I was no closer to a screen blanking solution for HDMI displays. I found no way to get an HDMI display to go blank (either black screen or turn off backlight).
Raspberry OS has support for blanking the display in several ways but I don't have enough experience to migrate these mechanisms to Venus OS.
I have a Raspberry PI 7" display on order and will test that approach. I haven't found any instructions for activating this display in Venus so I am hoping that it will just work, then I can get the touch part working as powerace did. That part of the shell script he provided should make this possible.
Fingers crossed.
I gave up on the HDMI display since I could not find any way to control display blanking.
I switched to the "Official Raspberry PI 7" Display" and both screen blanking and dimming work as they should. The screen blanking DOES turn off the backlight.
Thanks to powerace for the script that sets up the PI to handle the display. I've written my own script based on that one that automates much of the setup:
It reboots and continues setup when not headless to run touch calibration then reboots again when finished.
It also saves the touchscreen calibration file to /data/etc, the copies it back after a venus software update. Anything that gets deleted is also reinstalled.
When the project is finished and I'm certain everything is working properly, I'll put the package up on GitHub for others. This also might be something Victron may be interested in incorporating in the RPI distribution. Stay tuned.
Update: I found a way to activate the Venus screen saver for an HDMI display plugged into the first HDMI port
Execute the following command:
echo /sys/class/graphics/fb0/blank > /etc/venus/blank_display_device
Note that this conflicts with the blanking of the "official Raspberry PI 7" touchscreen" blanking. With this line in place, that display will blank but not come out of screen saver!
You can blank that display with:
echo /sys/class/backlight/rpi_backlight/bl_power > /etc/venus/blank_display_device
So you can't blank two displays if they are both hooked up.
You also need this line in /u-boot/config.txt in order for the display to enter a power-down state. Without it, the display goes blank but the display does not power down so there's a faint glow from the screen. Power consumption would also be higher.
# allow HDMI isplay to enter low powr mode
hdmi_blanking 1
On my test HDMI display, the screen blanks then the unit enters a power down state.
As with all HDMI displays, it takes several seconds to come out of this state and display an image so it's not a perfect solution but it is better than nothing.
If you delete the hdmi_blanking line in config.txt, the display comes out of screen saver immediately, so you can make a choice between the glow and fast recovery.
Also, there is apparently no way to adjust brightness.
Just wondered if you tried having both lines in the file /etc/venus/blank_display_device
In case Venus just loops through the file blanking each display it finds.
it might work.
Thought of that. Tried it. Doesn't work.
If the HDMI line is in the file, the RPI display blanks and doesn't come out of screen saver.
If the rpi line is in the file, the HDMI display doesn't blank.
So it's either/or.
Here's a script that handles setup for the RPI 7" touchscreen blanking and dimming as well as HDMI blanking
Hi
I have a Pi 3 with Rpi 7" touchscreen and Venus OS 2.84 and Rpidisplayhelper 2.7
I cant get the screen off to work..... it never get the screen off no matter if I set 10 sec or some other time... What have I missed? /Mattias
RpiDisplaySetup attempts to automatically select the proper display (RPI 7" or HDMI). To to so, it must install a device tree overlay, reboot and run the setup script again. I suspect this may have failed for some reason or not fully completed.
If you can, run the setup script and select the RPI display
/data/RpiDisplaySetup/setup
You could also attempt installing again from PackageManager:
PackageManager is at the bottom of the Settings menu
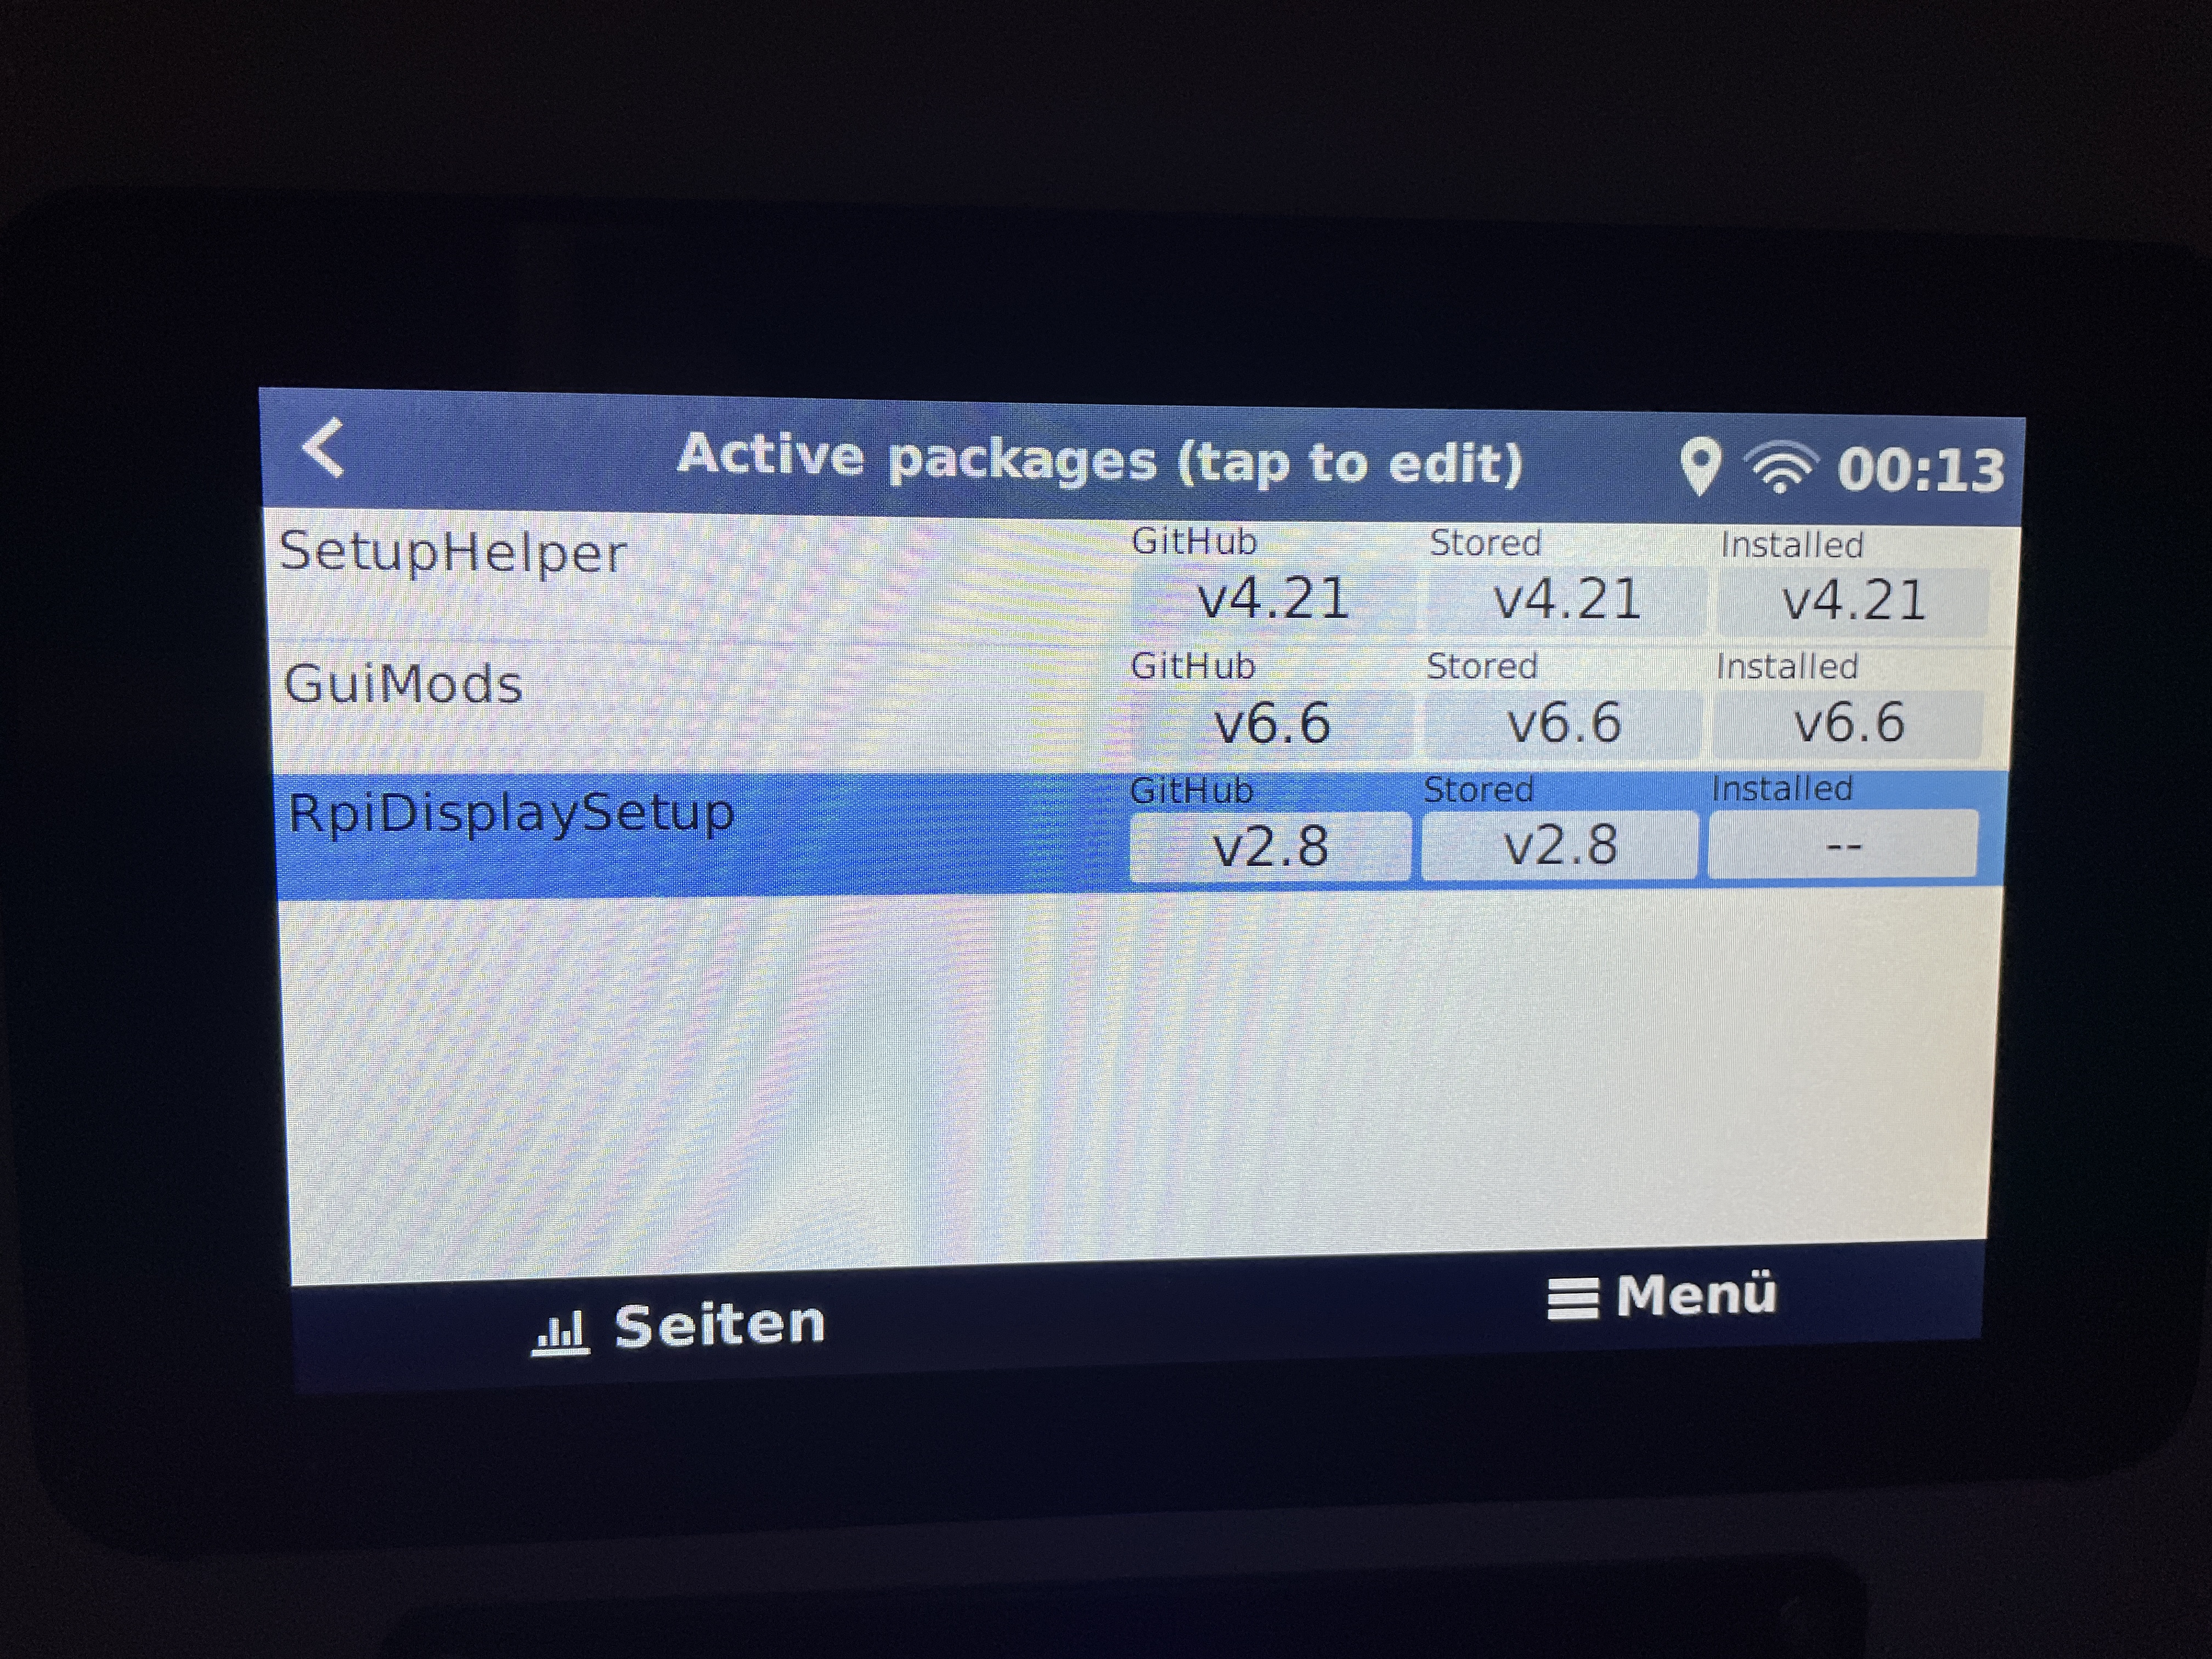
Select Active Packages, then tap on RpiDisplaySetup.
Then select Install
Sorry, how you run thet ? u use "sh /data/RpiDisplaySetup/setup" or "./data/RpiDisplaySetup/setup" Also dont work, Sorry I been out from linux more then 4 years :(

Hi Kevin,
thanks for your great work! I installed the guimod today with no problems using the setup helper. other packages like shoutdown etc. also work or temperature sensors (Ruuvi) are displayed. only since the upgrade from 2.7x to 2.89 does the display no longer go into standby, no matter what time I set, this was bevor i Upgrade to guimod. Now I wanted to install your package RpiDisplaySetup, but here comes the error message "file set incomplete", but I didn't change anything after installing the Guimod. would this package solve the problem at all or do you have another idea?
Yes, you will need RpiDisplaySetup to enable the screen blanking on the Raspberry PI.
I checked the v2.8 package and it should work with Venus OS v2.89.
Typically, the issue is something has changed one of the files I modify. In this case, the only modification is /opt/victronenergy/gui/start-gui.sh.
Modification of stock Venus OS file that gets replaced by a package causes my check for available replacement files to fail. The easiest way to fix this is to use the stored backup to regress to another version, then do an on-line update to v2.89 (or whatever other version you are interested in). Do NOT use the stored backup of v2.89 as it will still contain the changed file.
You can modify files manually but should copy the original file to a file with a .orig extension BEFORE making any manual modificaions. So in this case cp/opt/victronenergy/gui/start-gui.sh /opt/victronenergy/gui/start-gui.sh.orig
Also note that installing a package will overwrite the current file and any modifications you make manually will be lost. So if you do need to modify the file, do it after package install. And you'll need to do this after Venus OS updates and also after package updates.