Node-RED VRM API and Dynamic ESS
From today on, we’ve added some extra functionality to the VRM API, allowing a lot more flexibility when you are already using Dynamic ESS. In this article, I’ll guide you through some of the possibilities and how to set things up initially.
As I realise there is a lot of text below to wade through, let me first give you a glimpse in what you’ll be able to do with it before starting the deep dive into the subject.
Switch between trade and green mode

Adjust your formula, based on the time of day

Set restrictions based on the sell price

Of course you can adjust the flows to fit your personal installation and situation. In the comments below, you are invited to come up with your own ideas..
One precautionary thing to mind is that by changing the configuration of Dynamic ESS, the system will trigger re-scheduling (which can take up to 10 minutes) and won’t necessarily help you in saving most money on your energy bill. Leaving the system running is generally the best idea, as the system schedules up to 48 hours ahead. That being said, there are also cases where it will help you and we gladly give you the tools to experiment with.
Getting started with Node-RED
If you have never worked with Node-RED, I advise you start with either reading https://www.victronenergy.com/live/venus-os:large on Node-RED or by checking out our 3-part webinars on the subject, which are also linked from there.
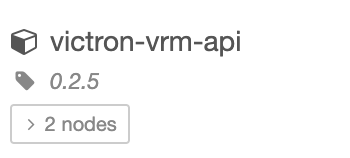
In short, to get going with Node-RED and the VRM-API node, install the latest large beta firmware release on your GX device. And make sure that VRM-API version 0.2.5 is running. In case of troubles with that, check out the Troubleshooting / FAQ section at the end of this article.

Implementing the flows
With the latest Venus OS beta releases, the VRM-API node became part of the large GX firmware image, meaning that you no longer need to install it via the palette manager yourself. The VRM API is a programmable interface into VRM, that allows you to query information from your installation(s) easily. On https://vrm-api-docs.victronenergy.com/#/ you can find all the related documentation, which you sometimes might need when using the node.
When installed correctly, the Node-RED system should provide you with this extra node, which is located in the Victron Energy menu and looks like this:
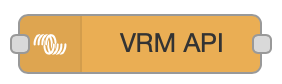
It has both an input as an output, meaning you can trigger it via an inject node to start querying the VRM API and you get the answer via the output. We will first start by retrieving the Dynamic ESS configuration for your site.
Once you dragged the first node to the canvas, double-click it. We want it to look like as below.
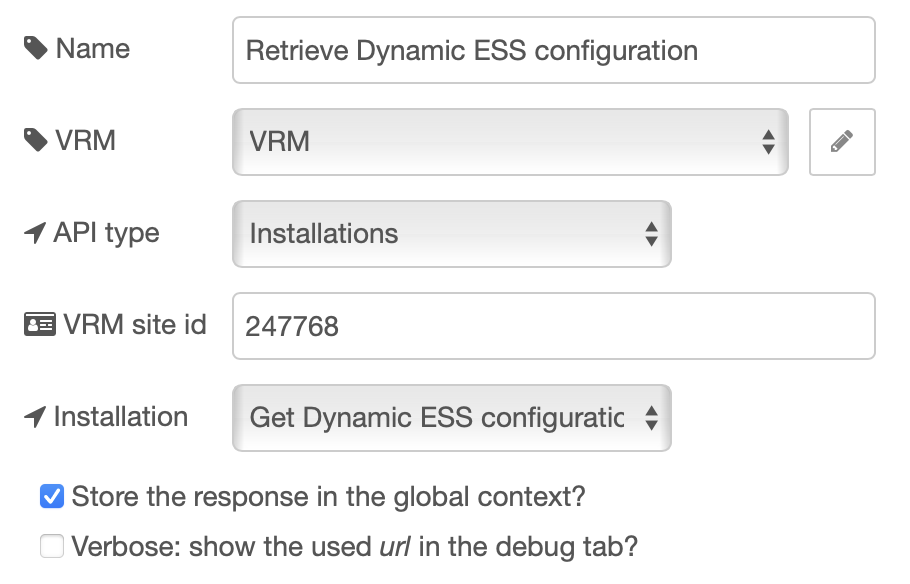
For the VRM part, you will need to create an API access token first. This can be done via VRM itself under Preferences -> Integrations -> Access tokens: https://vrm.victronenergy.com/access-tokens . Store this configuration as “VRM”. You’ll only need to do this once, this configuration can be used with other nodes and flows too.
For the API type, select Installations. And under Installation, select Get Dynamic ESS configuration. Note that there also is API type Dynamic ESS, but we don’t use that yet.
The VRM site id is the number that the API uses to identify which site to query. It is the number you also see in the URL when you are on the VRM dashboard of your site. So make sure that you have your own number there (your access token is restricted to only allow access to your own site id).

Under Installation select Get Dynamic ESS configuration and check the Store the response in the global context? checkbox. Hook this up to an inject node on the input side and a debug node on the output side and deploy the flow. It should look like this:

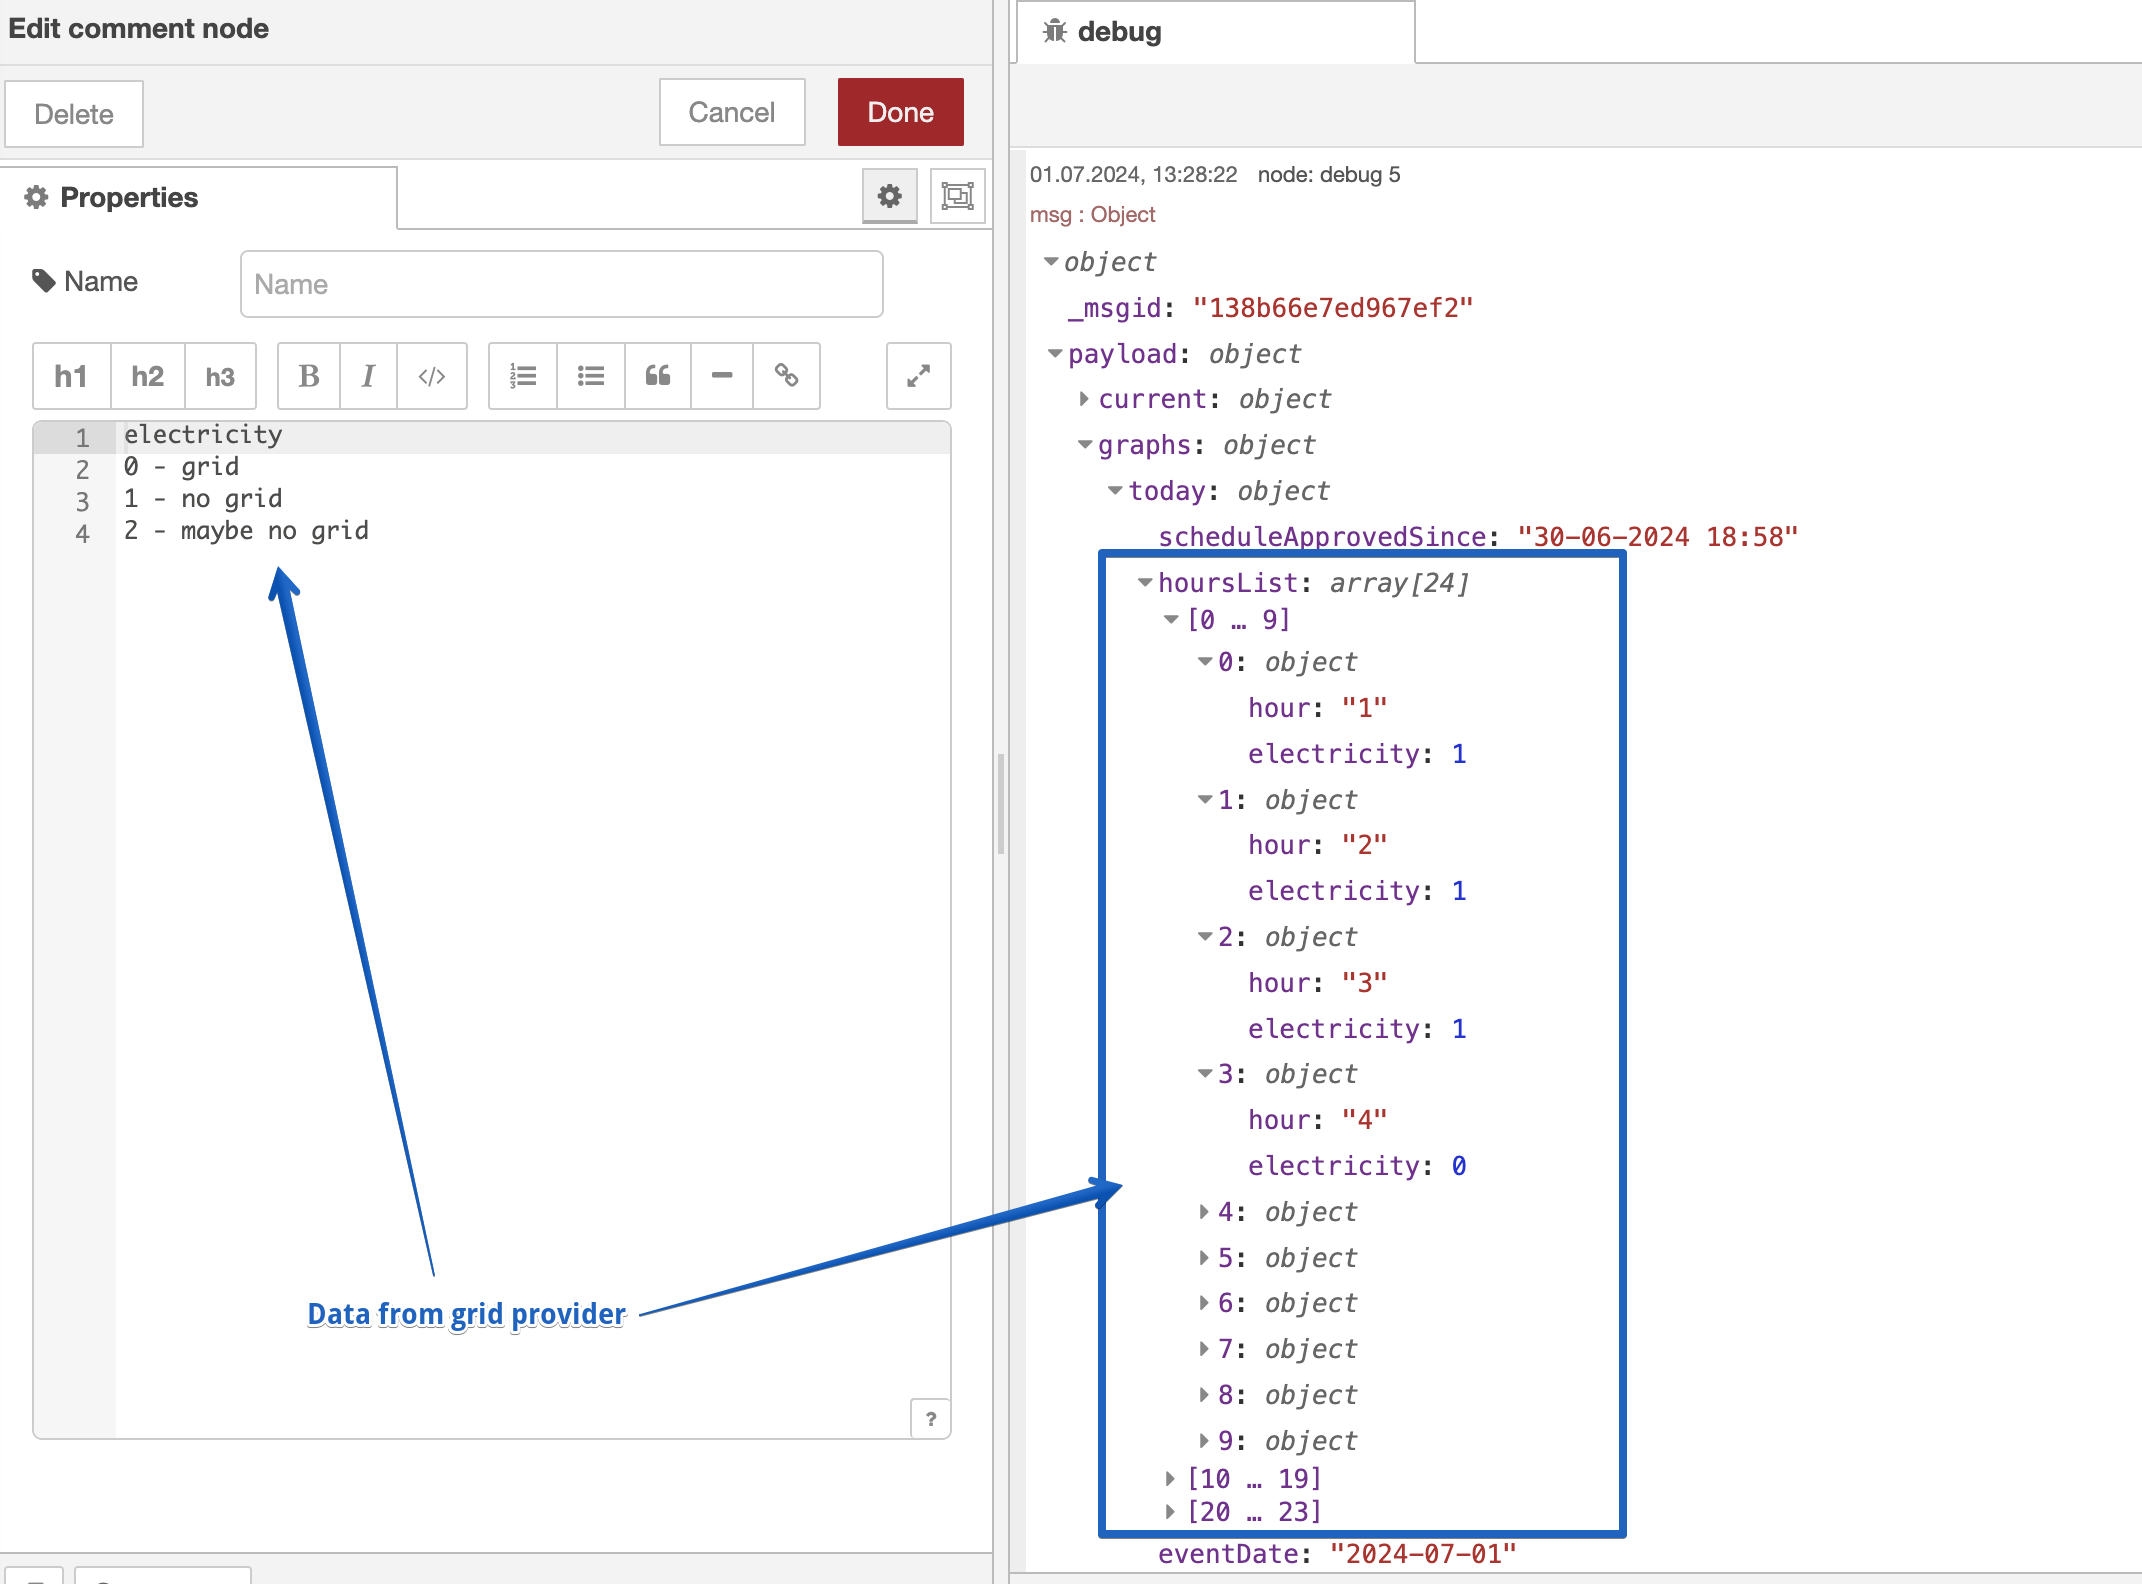
If you trigger the flow, the debug tab will show you all of the configuration information of your Dynamic ESS system. It looks something like this:
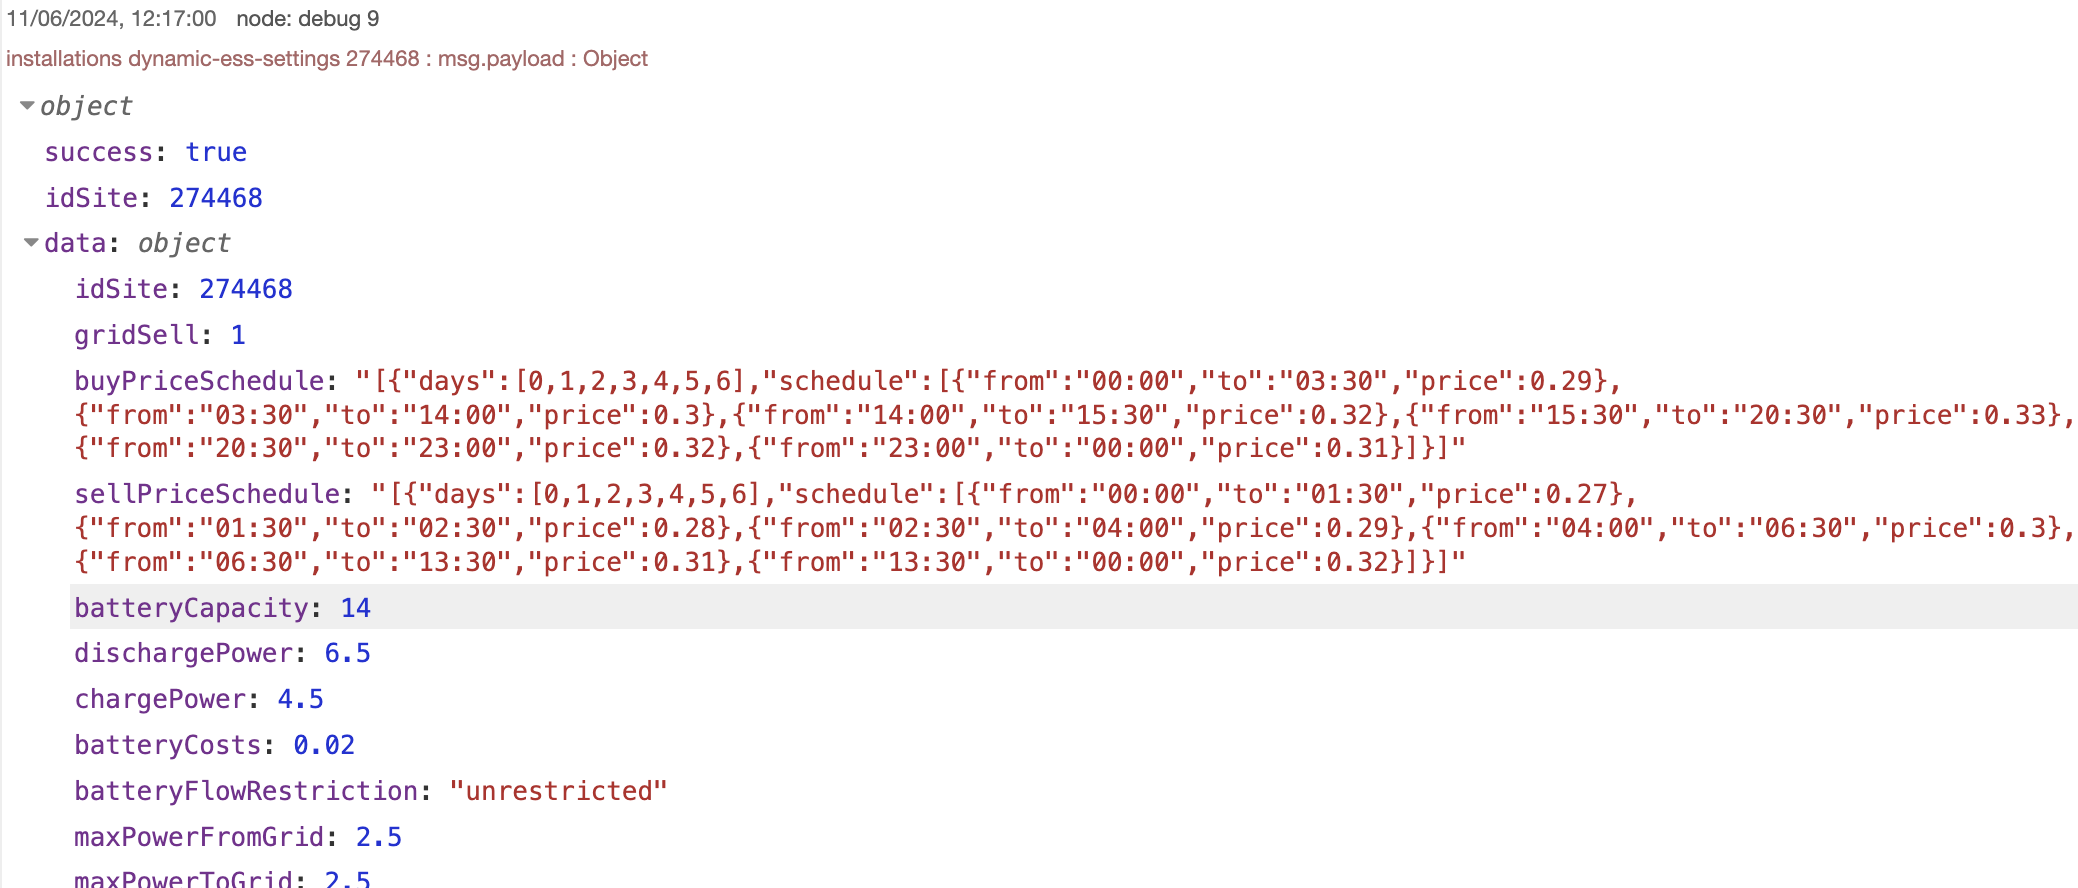
So it gives you everything you filled out in the Dynamic ESS settings on VRM. The checkbox to store the answer into context takes care of also saving this information under the global context with the path `installations["dynamic-ess-settings"]["274468”]`. If you need to read more about working with contexts, check out the official documentation on that: https://nodered.org/docs/user-guide/context
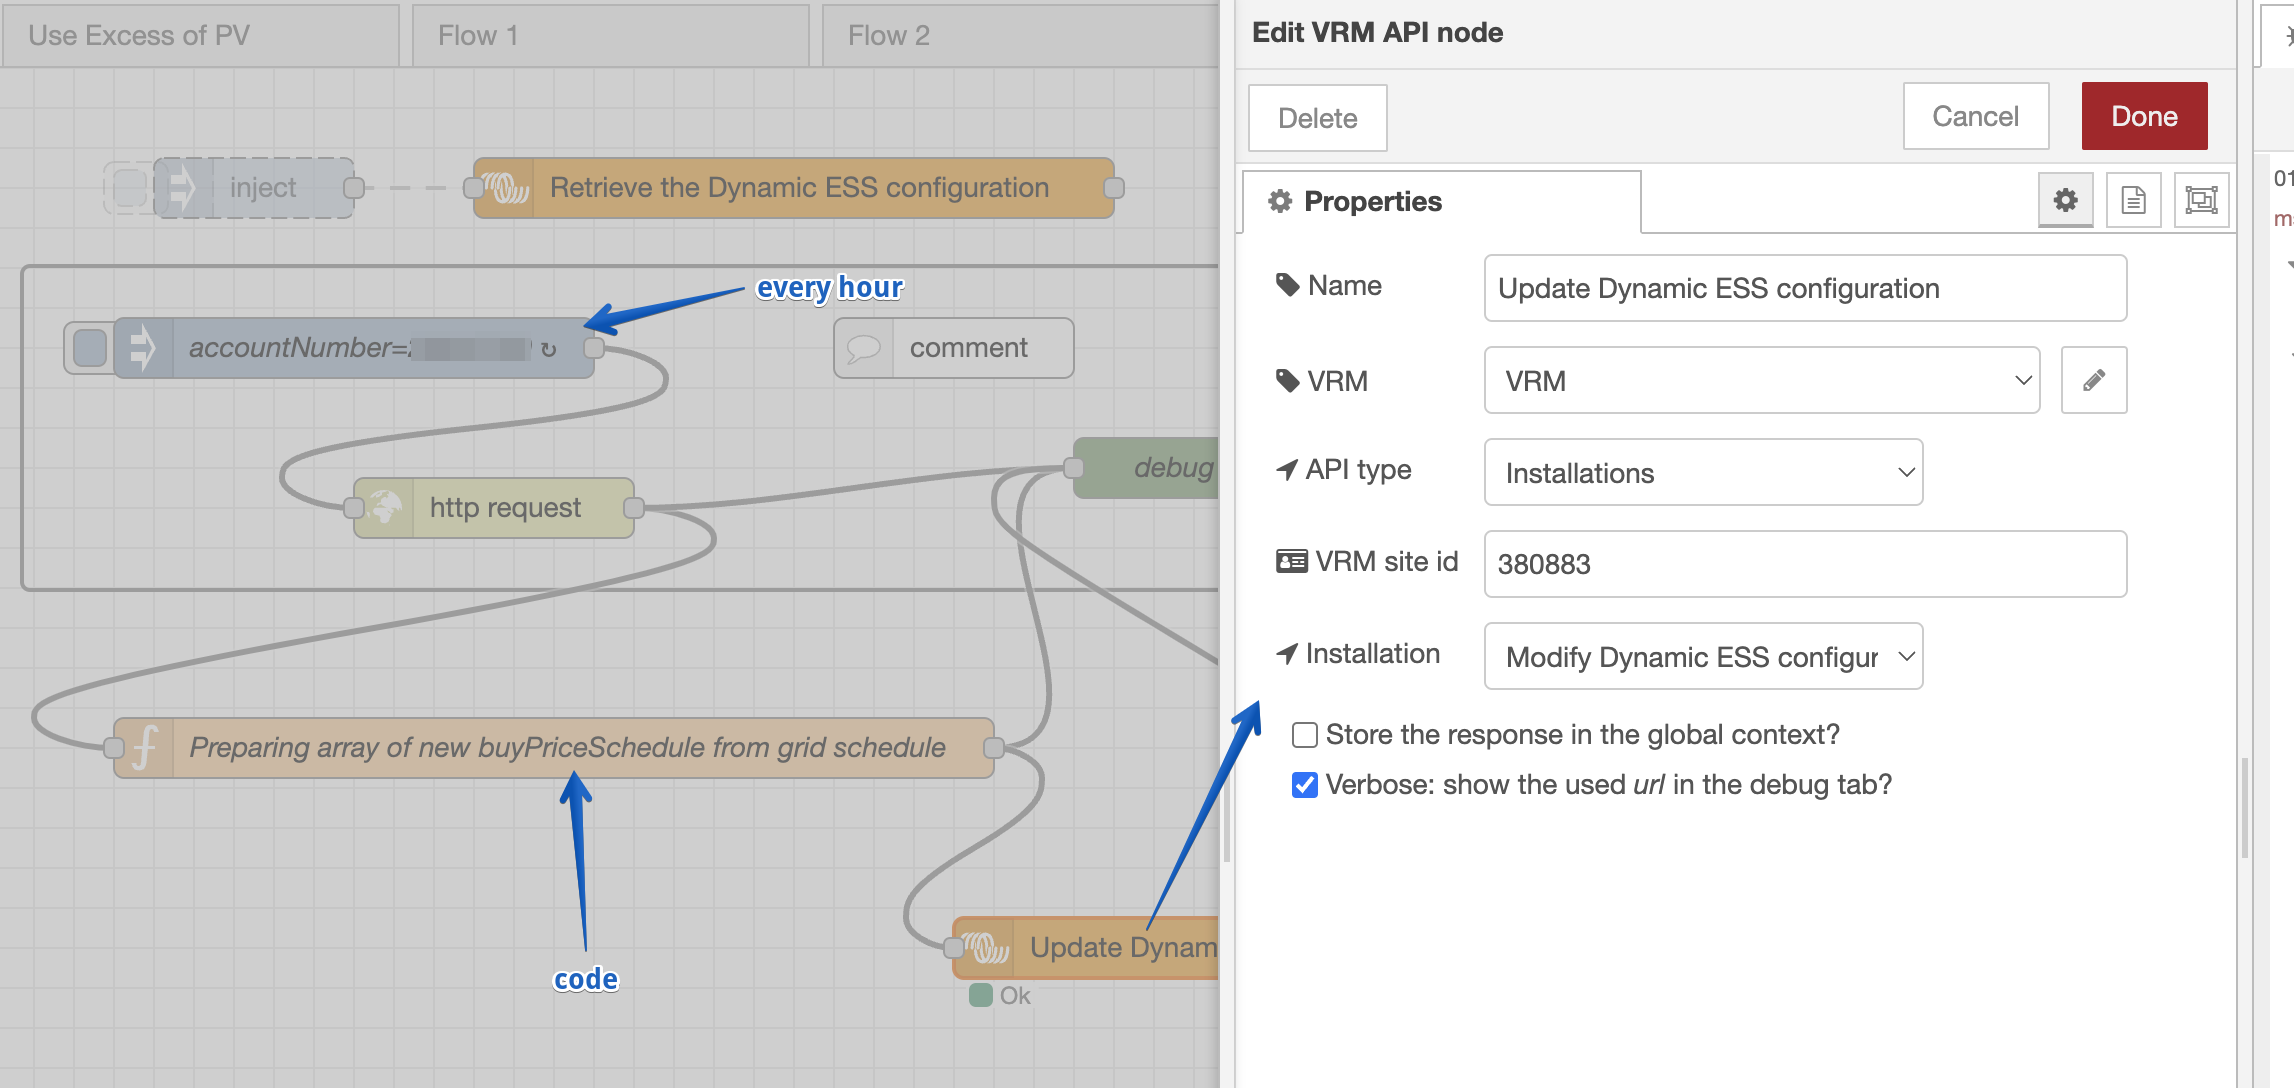
While this is already handy, the true power comes in the ability to change these settings at will. This can be done by selecting Modify Dynamic ESS configuration under Installation:

There are a few things to mind when modifying the configuration. First of all, the system expects a JSON formatted string. So you need to set the `msg.payload` to type JSON.
Then the payload itself also needs to be JSON formatted, mainly meaning brackets around it and quotes around the fields.

That is basically it. When the code gets injected, the responding payload will contain the full adjusted configuration in its answer and update the context (if that has been checked) with the new values.
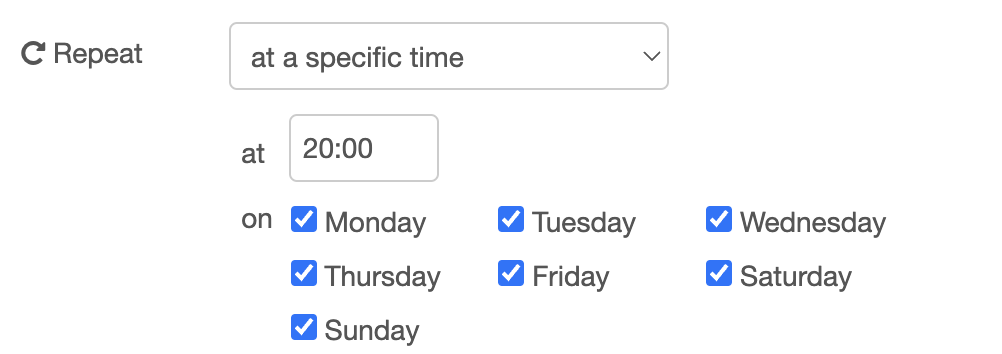
The logical next step is to adjust settings time based. Please don’t inject too often, as the system will need to re-calculate the full planned schedule after configuration changes. This can take up to 10 minutes. After changes the system will end up at the end of the queue again, so if you update too often, you might even end up in the situation where your system doesn’t get to the beginning of the queue and getting a fresh schedule.
So the best thing is to set the inject node to inject once at a specific time to set a value and at a later moment inject the alternate value you want the system to work with. As a payload, you will need to insert something like: `{"buyPriceFormula":"(p+0.13)*1.21”}` in one node and `{"buyPriceFormula":"(p+0.15)*1.21”}` in the other inject node.
Finally, for this article, let’s take a look at acting on the current sell price. This can be queried by a different VRM endpoint. Select API type Installations and Installation Installation stats, attribute Dynamic ESS. Configure the API node as follows:
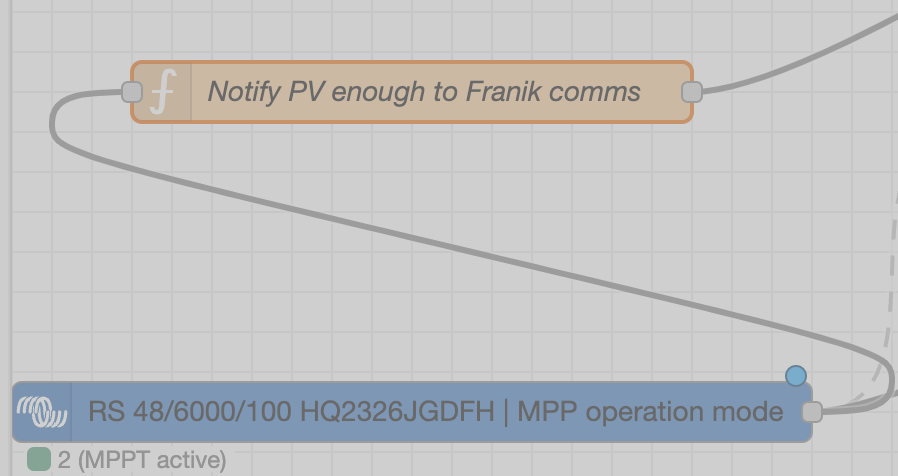
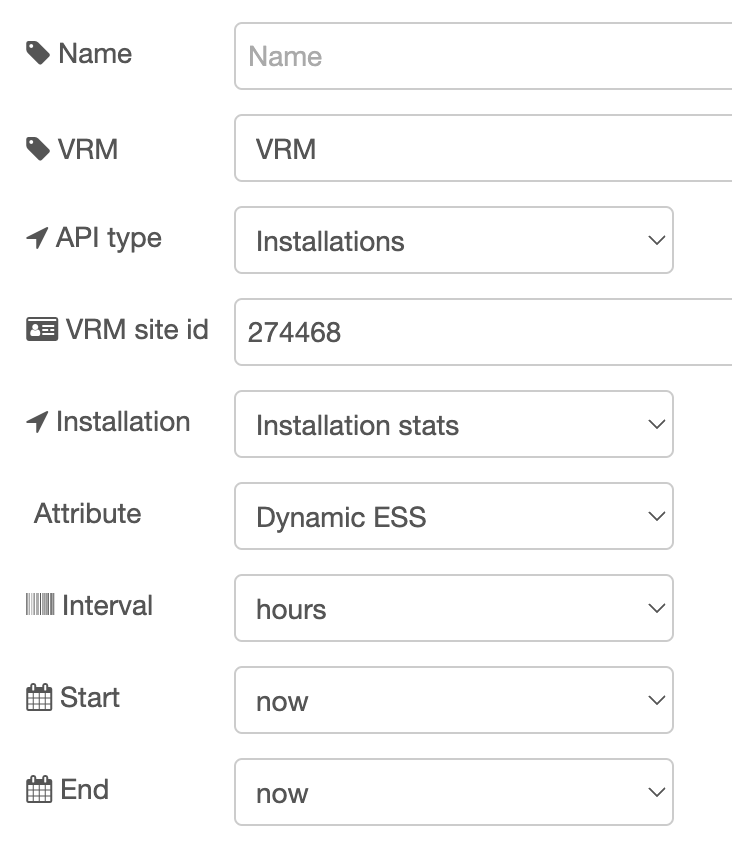 This only queries the info for the current hour, so the resulting answer can be connected to a function node to use the info from the first field in the answer:
- let price = msg.payload.records.deGs[0][1]
- msg.payload = (price <= 0.0) ? 1 : 0
- let fill = 'red'
- let text = 'Nope, positive price'
- if (msg.payload) {
- fill = 'green'
- text = 'Yes! Negative price'
- }
- text += ': €' + price.toFixed(2)
- node.status({fill, shape: 'dot', text})
- return msg;
This checks the `msg.payload.records.deGs[0][1]` field for the price. If it is negative, it wil set the msg.payload to 1, otherwise to 0, which can be directly connected to a regular Victron node to disable feeding into the grid when the price is negative.

This about wraps it up for this article. I am sure there will be some comments and suggestions below.
Still keep in mind that on every change of the configuration, the whole schedule needs to be recalculated, which can cause a less than ideal schedule if the changes are abrupt or big.
Troubleshooting / FAQ
Q: I already have the victron-vrm-api node installed, how to remove that?
If you’ve already installed the Victron VRM-API before and then switch to the latest beta firmware, you can end up with 2 installations of the Victron VRM-API node on your system: one that comes with the firmware and one that you installed yourself. Even worse is that this isn’t shown clearly and the system won’t allow you to update to the node to the latest version.
The solution is to uninstall the manually installed version first. The most user-friendly way is to do this by switching to the official release of Venus first and removing it there from the palette.
Q: What does the VRM-API Dynamic ESS do?
It is an alternative implementation of the Node-RED node: https://flows.nodered.org/node/victron-dynamic-ess. It is very likely to get more attention in the future. Feel free to experiment with it and provide feedback in the comments below.