How do get access to Cerbo GX via SSH ?
I want install the well documented support for Shelly 3EM. I already tried many (all?) suggested procedures from this forum.
Thanks
How do get access to Cerbo GX via SSH ?
I want install the well documented support for Shelly 3EM. I already tried many (all?) suggested procedures from this forum.
Thanks
Thanks. I tried this advice already. For me it does not work for more than one reason. E.g. the "password is ZZZ" does not work. I use the latest firmware.
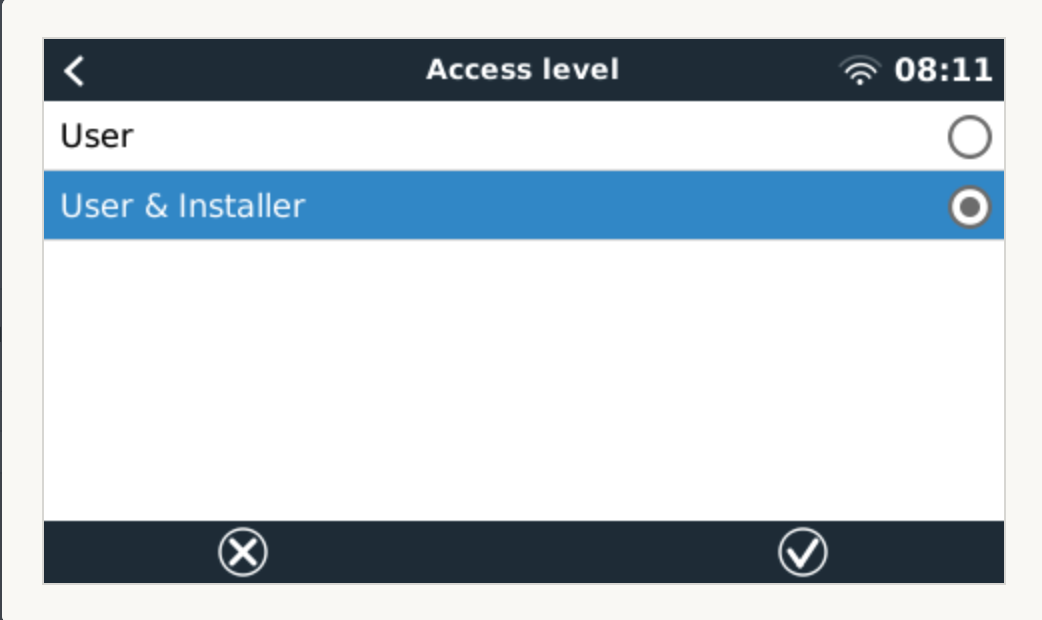
Normally steps 1 and 2 are not necessary as the access level is most likely user and installer anyway. Continue with steps 3 and 4.
Unfortunately even with this advice the procedure does not work for me. Maybe the recipe needs some overhaul ?
It works perfectly with the steps described. I see no real reason for an overhaul.
Does not work for me is a bit vague. Perhaps upload a video where we can see the exact steps you're doing and what happens?
It works for hundreds of users (including me) so you might be doing something wrong.
Did you do this?
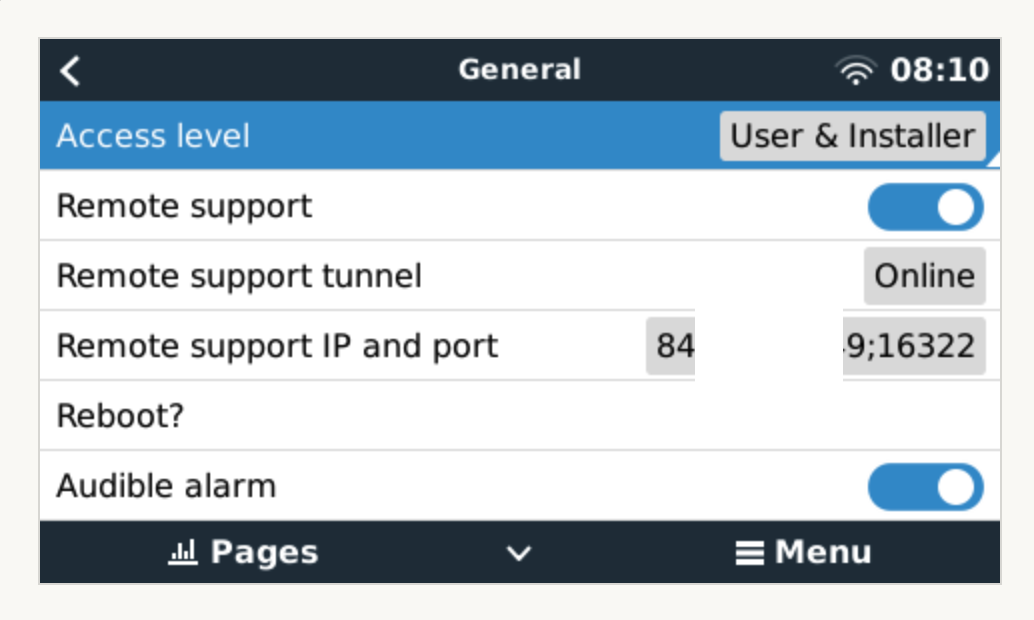
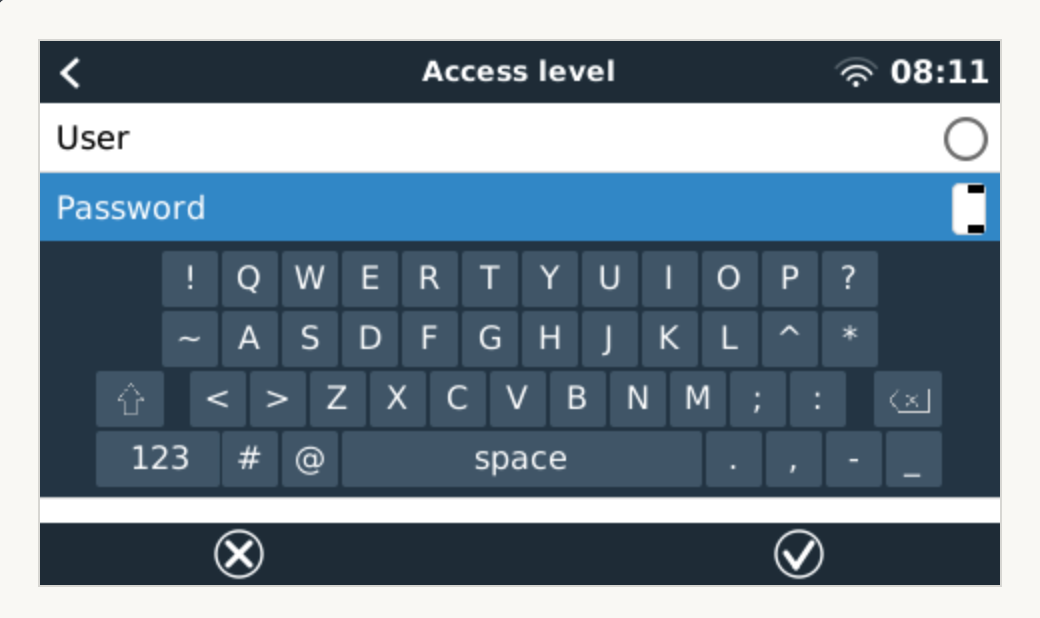
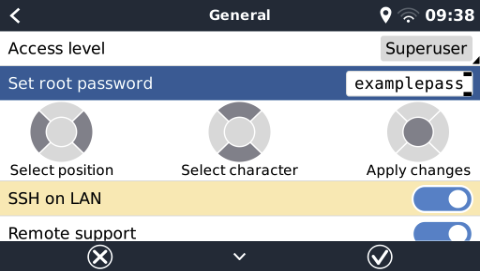
Go to Settings → General → Set root password. And create a temporary root password.
Thanks. Problem not solved so far.
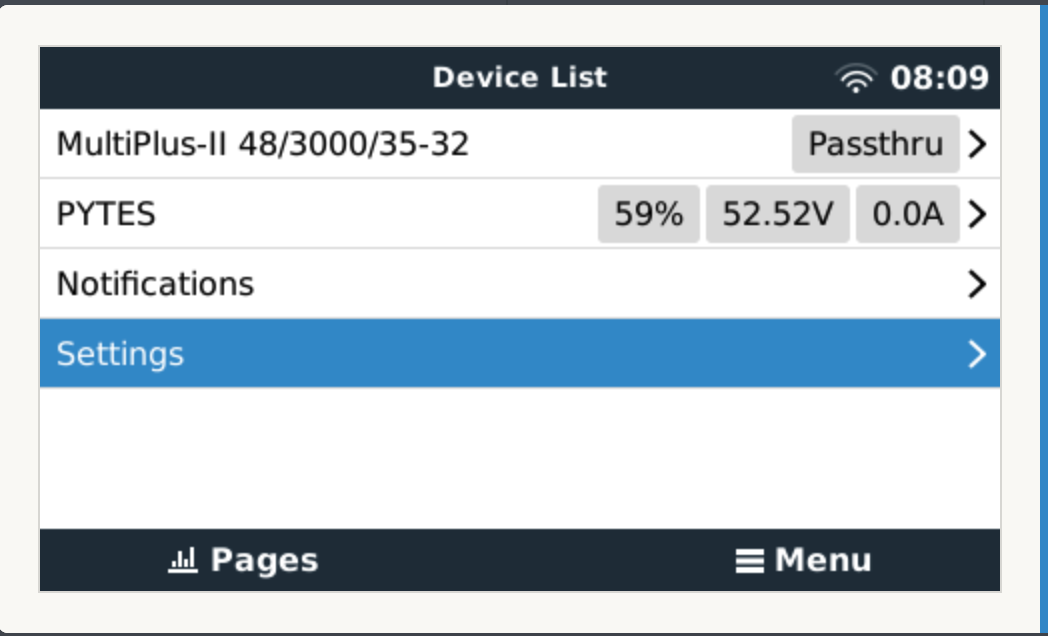
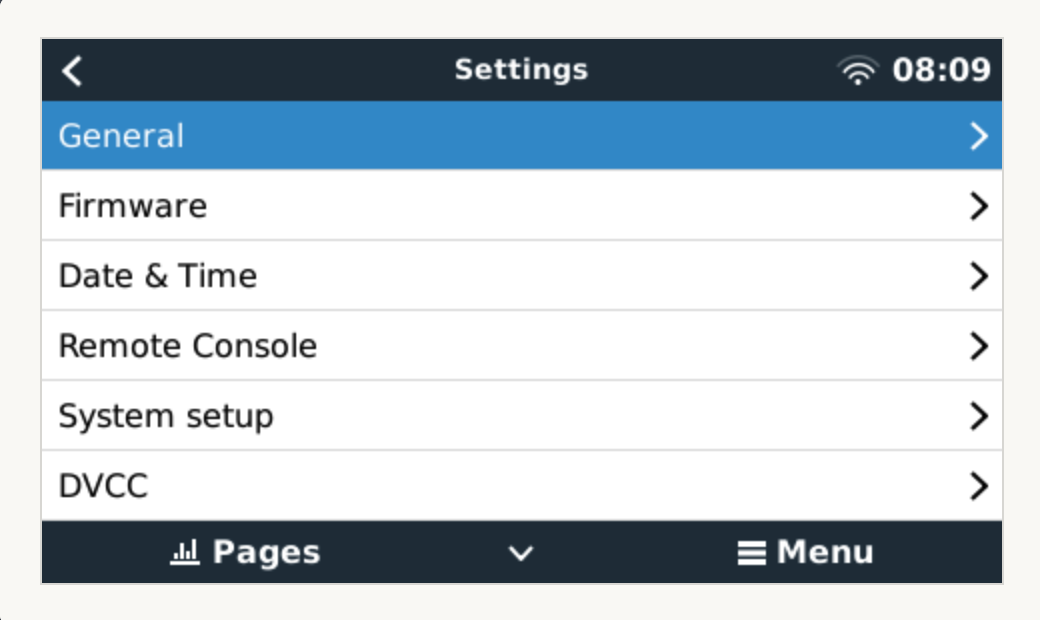
Find Screenshots attached. I could not find the entry
Go to Settings → General → Set root password.
The password "ZZZ" is accepted, when I change the access mode between "User" and and "User & Installer"
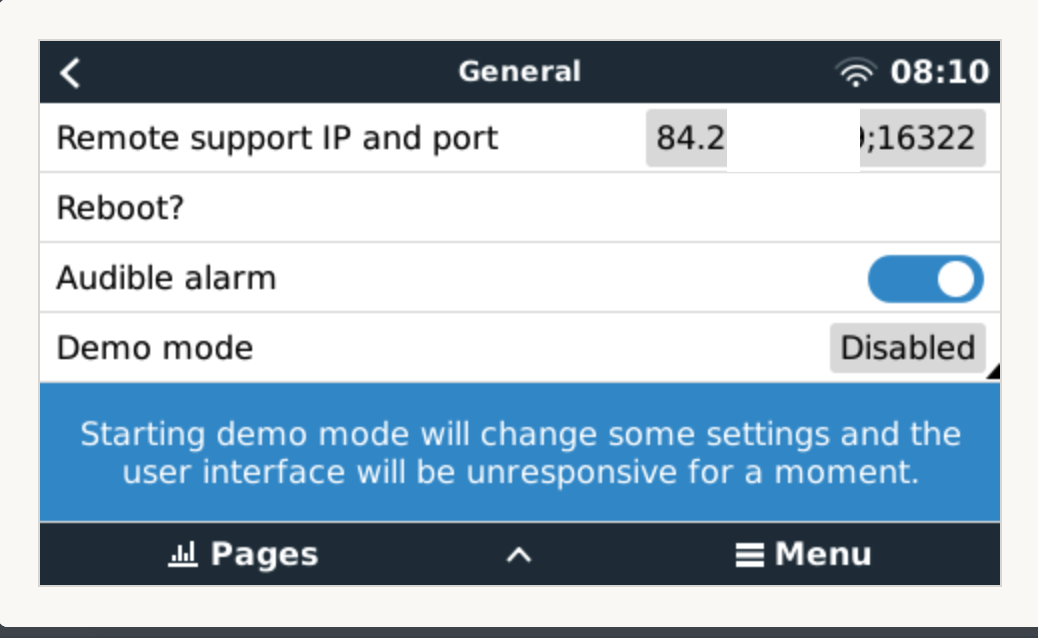
A few notes:
Looks like you skipped the step of changing the access level to superuser.
And only then set the root password (a password of your choice), which you can then use to access the system as the root user.
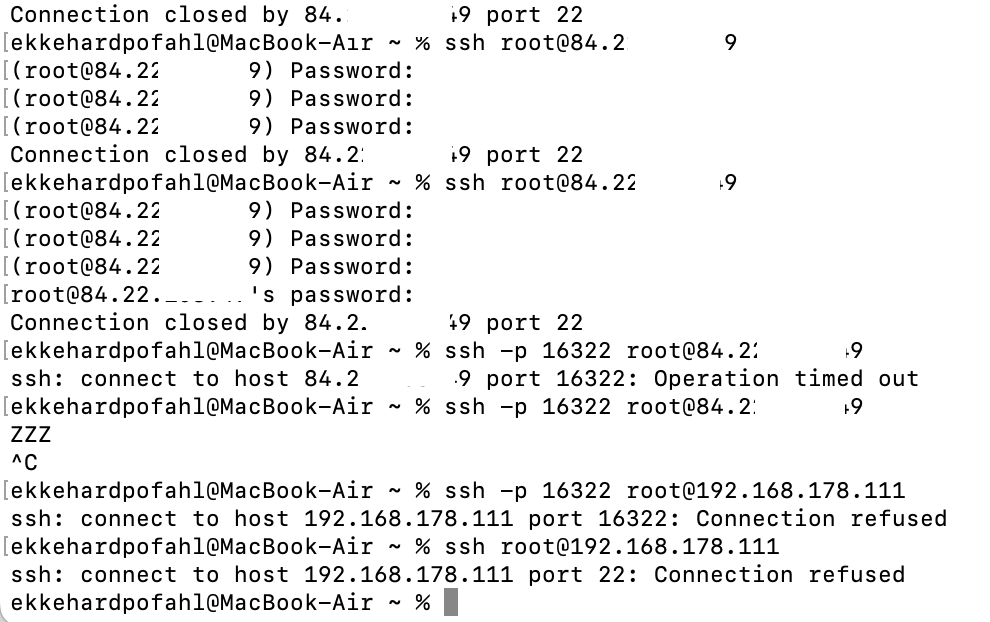
And I suggest using the local IP address of your GX device to log into the shell.
Thanks for the nice screenshots !
As you can see from my previous screenshots I don't have the choice "Superuser" at all. My choices are "User" and "User & Installer". How do I get the choice of the inflated access levels ?
> And I suggest using the local IP address
This was my first choice, of course. As you can see : "Connection refused". Not even the question for the password. I get the password question when I try to connect via Inet.
As you can see from my previous screenshots I don't have the choice "Superuser" at all. My choices are "User" and "User & Installer". How do I get the choice of the inflated access levels ?
From the root access document linked in my first comment above:
Highlight Access Level (don't open the select page, ie. make sure you are in the General Page, not the Access Level page)
Now you have access to the super user features.
Note that on a touchscreen, such as a Cerbo GX + GX Touch, there is no “right button”. Instead, drag the menu down and hold it down for five seconds. Or, use Remote Console.
Many thanks. Finally got it, ;-) . This way the superuser is a good hidden feature.
They call that a security feature, forcing people to read the manual (instead spamming the forum like you and me), *facepalm*
Please provide default root password. My Cerbo GX data partition is full and setting I made according to https://www.victronenergy.com/live/ccgx:root_access do not work at all because of that. I.e. , I can enable SSH root access as I see password request when I try to establish SSH connection but the password I've set according to the instruction is not accepted by Cerbo's sshd.