question

peterbaust avatar image
peterbaust asked

How to activate I2C Bus and use it in Node Red

Hello,

i am using Venus 2.9 on Raspberry-Pi. I am using it for my PV-equipment.

To get a system overview (e.g. Current solar power, power consumption) i wanted to add a

4x20 character display controlled over I2C (8574T) bus. The displayed data should be contolled by NodeRed.

It works fine with Raspberry OS but not with Venus OS.

Any hints why the I2C-Bus can not be accessed via Node Red?

With best regards

Peter

Node-RED
2 |3000

Up to 8 attachments (including images) can be used with a maximum of 190.8 MiB each and 286.6 MiB total.

5 Answers
johnny-brusevold avatar image
johnny-brusevold answered ·

I have this in /u-boot/config.txt

dtparam=i2c_arm=on

dtparam=i2c1=on


The Pi's I2C1 is connected to the i2c of the 8574 via an i2c optical isolator. In my case, I don't use it as an expander, but to directly control relays from node-red.


2 |3000

Up to 8 attachments (including images) can be used with a maximum of 190.8 MiB each and 286.6 MiB total.

peterbaust avatar image
peterbaust answered ·

Thank you,

so it is good to know that it works principally.

I have tried to add the configuration but unfortunately i get:

Error: ENOENT: no such file or directory, open '/dev/i2c-1

Did you have same experiences? Or was ist a straight on procedure?

1 comment
2 |3000

Up to 8 attachments (including images) can be used with a maximum of 190.8 MiB each and 286.6 MiB total.

johnny-brusevold avatar image johnny-brusevold commented ·

First, you can start by testing whether the device is connected to the pi.

i2cdetect -y 1

root@raspberrypi4:~# i2cdetect -y 1
     0  1  2  3  4  5  6  7  8  9  a  b  c  d  e  f
00:          -- -- -- -- -- -- -- -- -- -- -- -- --
10: -- -- -- -- -- -- -- -- -- -- -- -- -- -- -- --
20: -- -- -- -- -- -- -- -- -- -- -- -- -- -- -- --
30: -- -- -- -- -- -- -- -- -- -- -- -- -- -- -- --
40: -- -- -- -- -- -- -- -- -- -- -- -- -- -- -- --
50: -- UU -- -- -- UU -- -- -- -- -- 5b -- -- -- --
60: -- -- -- -- -- -- UU -- UU -- -- -- -- -- -- --
70: -- -- -- -- -- -- -- --

This is from my pi4 with venus.os 2.92

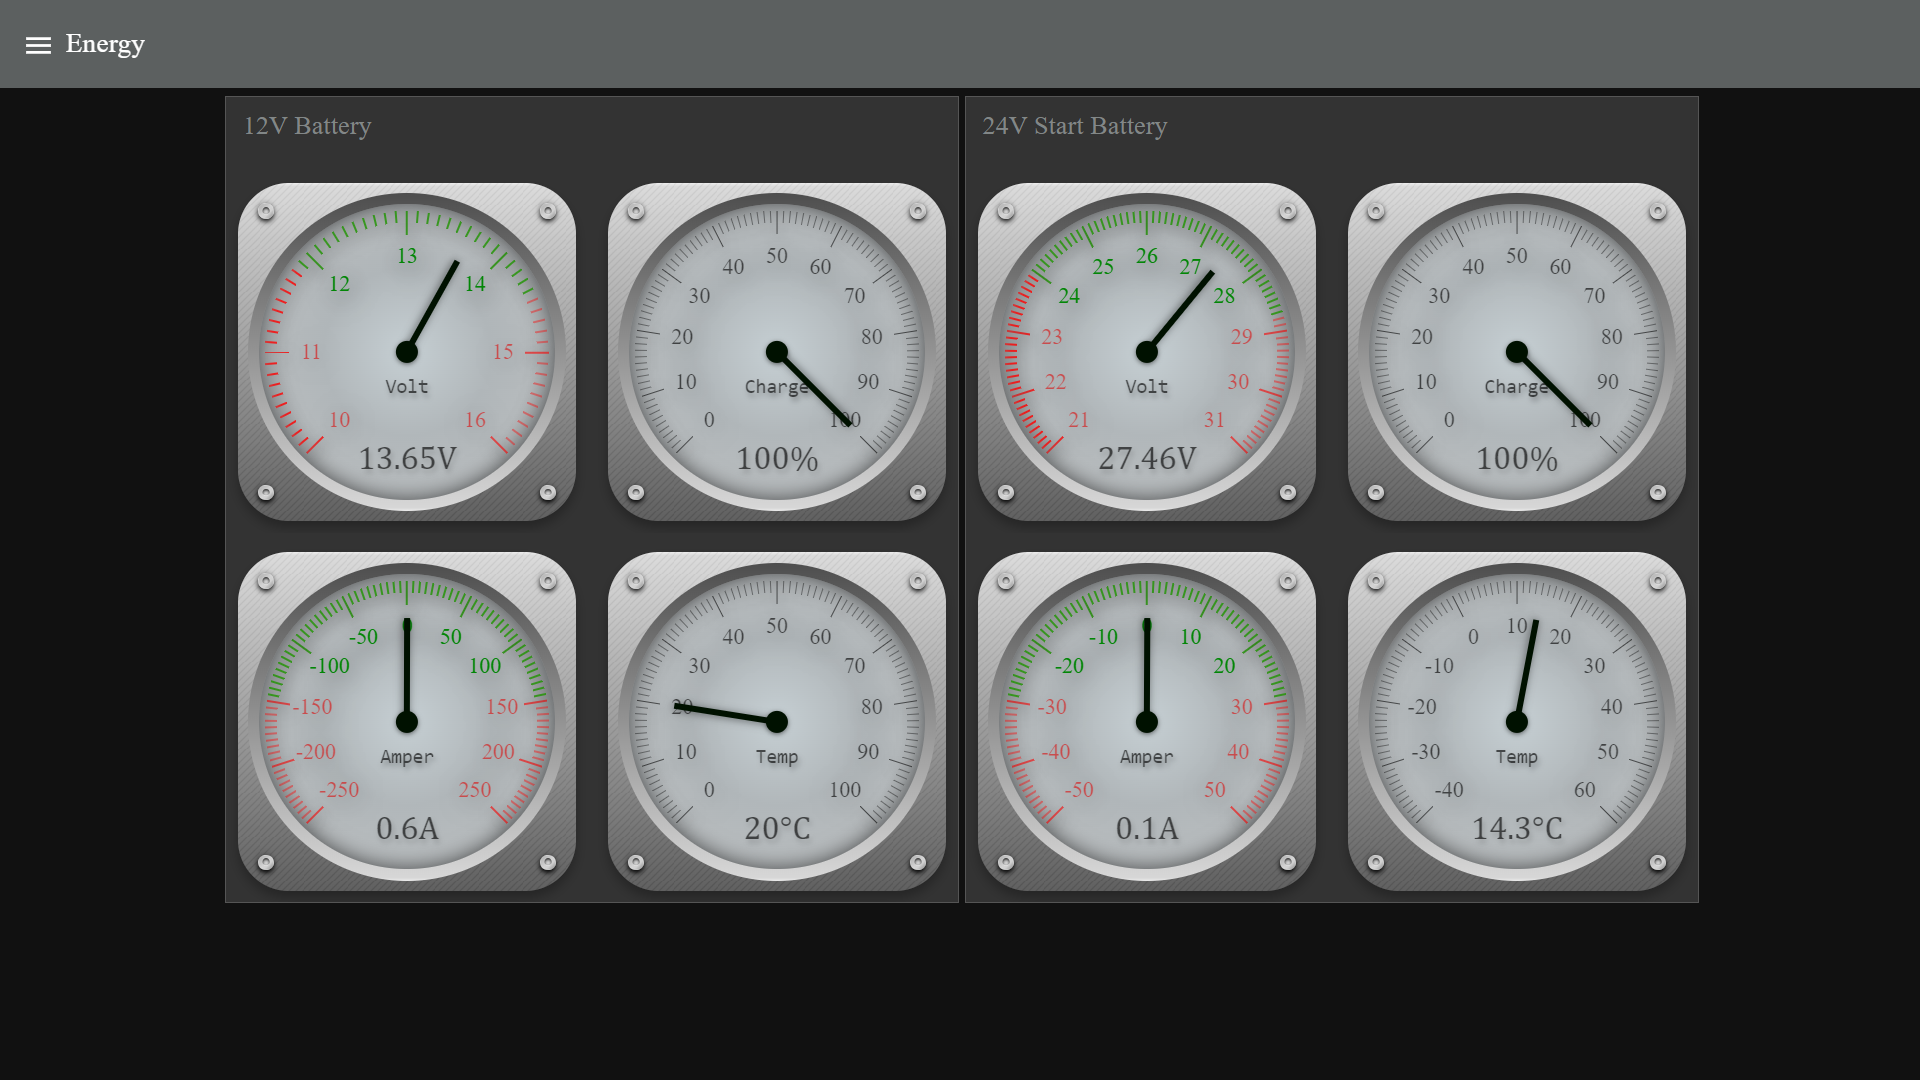
Runs several I2C devices such as relay controller, voltmeter, bidirectional ammeter, real time clock tank sensor on only 1 i2c / gpio connection.


Also uses some python/C# libraries for various purposes, but all management and reading of data takes place in node-red.


My system is probably a bit of an 'eye-candy' for most people, but I like analogue because of the age :=)

2023-04-03.png

0 Likes 0 ·
2023-04-03.png (709.3 KiB)
peterbaust avatar image
peterbaust answered ·

Interessting. This is what i got:

i2cdetect: can't open '/dev/i2c/1': No such file or directory

By the way, your instruments look really nice. And i agree, sometimes analog instruments are much easier and faster to read. I guess this is no matter of age :)

1 comment
2 |3000

Up to 8 attachments (including images) can be used with a maximum of 190.8 MiB each and 286.6 MiB total.

johnny-brusevold avatar image johnny-brusevold commented ·

@PeterBausT

You can try adding this line to /u-boot/config.txt

dtoverlay=i2c1

but you need to download i2c1.dtbo to /u-boot/overlays/

https://github.com/raspberrypi/firmware/blob/master/boot/overlays/i2c1.dtbo

Otherwise, I don't know why it doesn't work for you, maybe some difference between the venus-os versions?

0 Likes 0 ·
peterbaust avatar image
peterbaust answered ·

A short update. I found this:

https://community.victronenergy.com/idea/41860/getting-i2c-running-for-humidity-and-temperature-s.html

So it seems to be necessary to modify rc.local -file

and add:

modprobe i2c-dev

within this file i also found an entry:

/data/dbus-iobroker-smartmeter/install.sh

Which i disabled. It might be, that i crashed the installation with prior experiments.

Now, at least the i2cdetect -l

leading to a lot of i2c hardware. I did not expect to have so many i2c hardware on my Pi3+

i2c-1 i2c bcm2835 (i2c@7e804000) I2C adapter
i2c-11 i2c bcm2835 (i2c@7e205000) I2C adapter
i2c-0 i2c i2c-11-mux (chan_id 0) I2C adapter
i2c-10 i2c i2c-11-mux (chan_id 1) I2C adapter


And now the 8574 was found

0 1 2 3 4 5 6 7 8 9 a b c d e f
00: -- -- -- -- -- -- -- -- -- -- -- -- --
10: -- -- -- -- -- -- -- -- -- -- -- -- -- -- -- --
20: -- -- -- -- -- -- -- 27 -- -- -- -- -- -- -- --
30: -- -- -- -- -- -- -- -- -- -- -- -- -- -- -- --
40: -- -- -- -- -- -- -- -- -- -- -- -- -- -- -- --
50: -- -- -- -- -- -- -- -- -- -- -- -- -- -- -- --
60: -- -- -- -- -- -- -- -- -- -- -- -- -- -- -- --
70: -- -- -- -- -- -- -- --

But still node red responds with an error:

"i2c port not open or adress used, check i2c settings"

I am working on it.

But for now, thanks for your help. I will complete this thread if i found a solution.


1 comment
2 |3000

Up to 8 attachments (including images) can be used with a maximum of 190.8 MiB each and 286.6 MiB total.

johnny-brusevold avatar image johnny-brusevold commented ·

@PeterBausT

Great that you figure it out.

I remember it now, had to create an udev rule for node-red to get access to i2c. possibly there are other ways to do this


SUBSYSTEM=="i2c-dev", MODE="0666"
0 Likes 0 ·
peterbaust avatar image
peterbaust answered ·

Hi,

now after a few days i started working on it again. And: It works!!!!

It took me only a few minutes.

I only added a file: 99-i2c.rules

in the /etc/udev/rules.d

directory. Then i added:

SUBSYSTEM=="i2c-dev", MODE="0666"

as you recommended.

After

chmod 777 99-i2c.rules

(not shure if its necessary), and a reboot the display works!!!

All the steps are summarized here:

https://github.com/fivdi/i2c-bus/blob/master/doc/raspberry-pi-i2c.md

So thank you for your help. How can i spend you a coffee?

With best greetings and happy easter

Peter

2 |3000

Up to 8 attachments (including images) can be used with a maximum of 190.8 MiB each and 286.6 MiB total.